It’s the post you’ve been waiting for! Are you ready? There’s no easy way to say it, flat iron curls are tricky! I feel like it either comes naturally to you or you really have to work hard to get the twist just right. And I’m telling you this not to push you away from trying it, but to reassure you and to help you be aware that you’re not alone. Heck, when I first tried using a flat iron, I had one side that looked like Shirley Temple, and the other side did nothing at all. Know that it’s going to take time and it’s going to take practice. If you find yourself feeling frustrated and wanting to quit, set up a styling session with me. I will help you feel more confident.
Ok, back to the point…here is, what I hope to be, as step by step rundown of how to curl with the flat iron. If this doesn’t help, I’ve attached a detailed video at the end of the post that will explain it further. Alright, let’s get started!
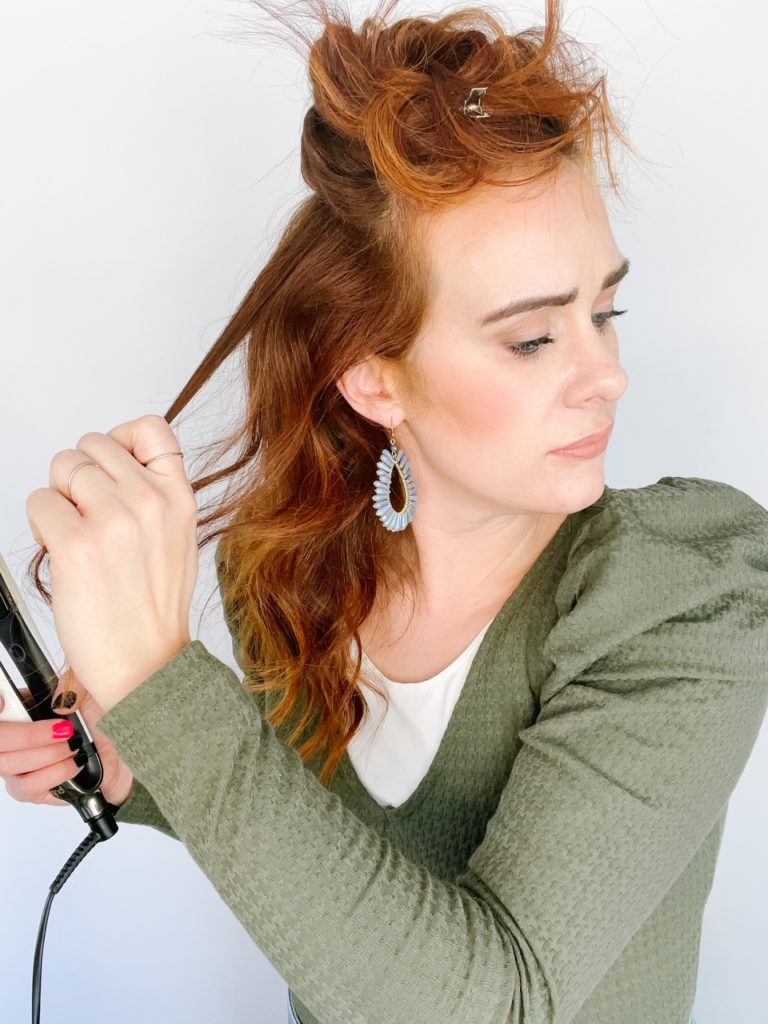
The first thing I want to point out in flat iron curls is your sectioning. Generally, you’ll want your section to be 1-1.5″ wide. This will allow the heat of the curl to penetrate all the way through. If you have extra thick hair, section smaller. If you have thin hair, cool the temperature of your iron and be mindful on how fast/slow you pass the iron through your hair
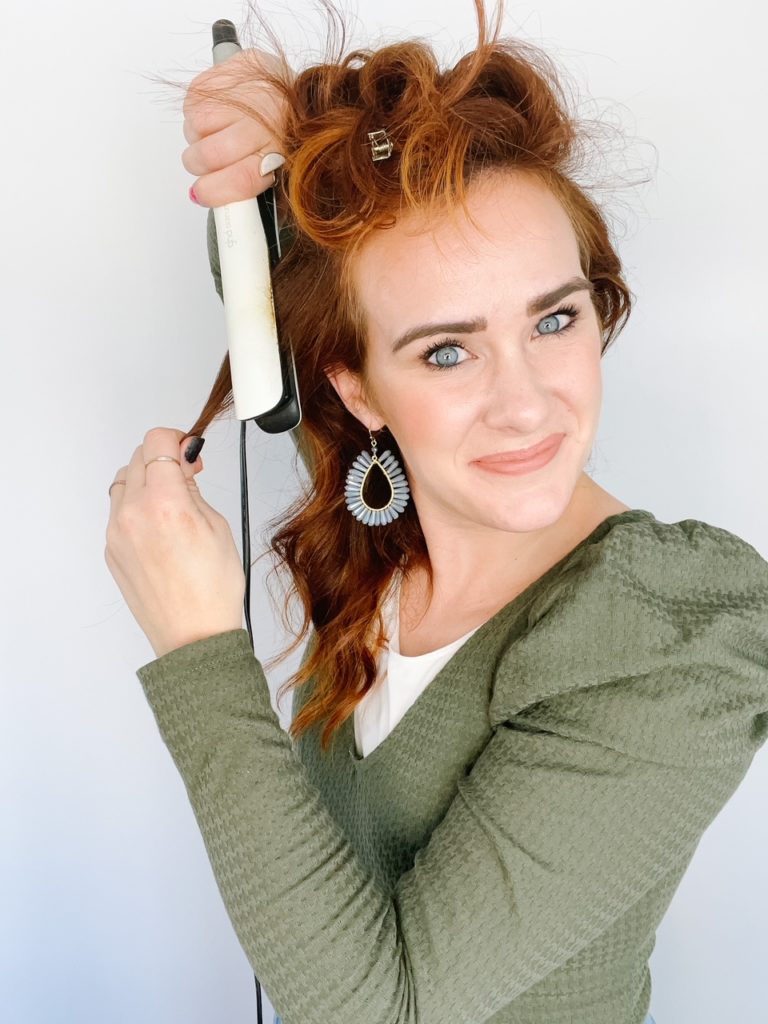
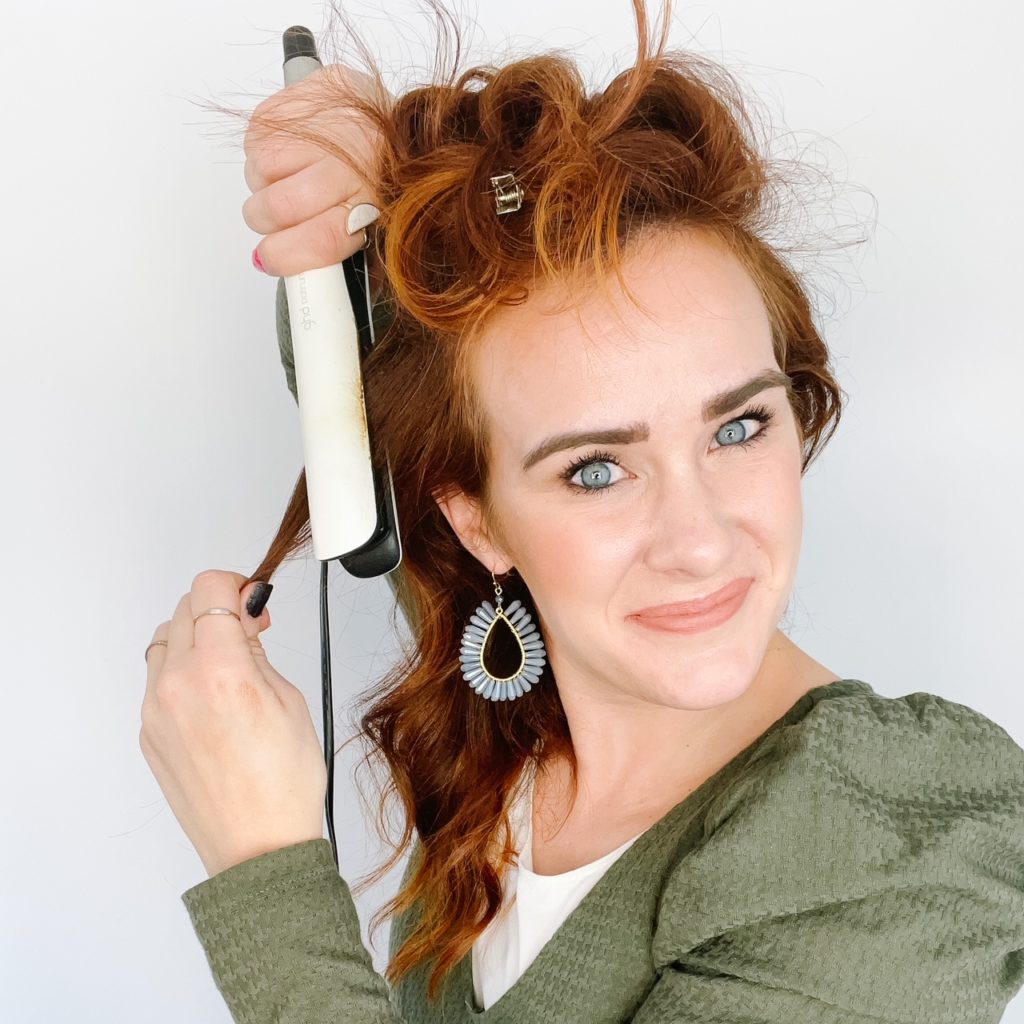
Once you’ve found the section, you’ll want to clamp the hair with the flat iron pointing down. This will allow the curl to be elongated and prevent unwanted weight in the curl.
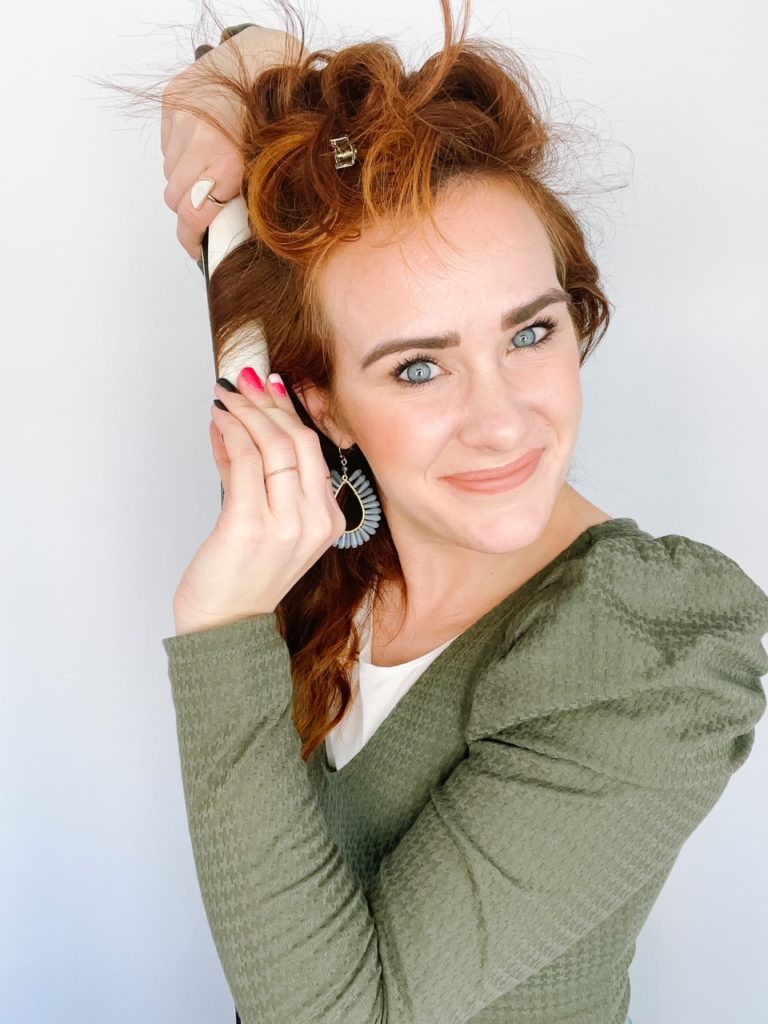
Twist the iron a quarter turn and begin to move the iron down towards the ends. It’s really important to aim the iron towards the ground and not out to the side. Out to the side will make the ends extra curly and will eventually create a triangle shape to the overall style.
Be mindful of how fast or slow you’re moving the flat iron down. The faster you move the iron down the hair, the less curly it will be. The slower you move it, the curlier it will be. This will also factor into the type of hair you have. The straighter your hair is or the more stubborn it is, try moving the iron slower. If you want more of a wave instead of a curl, move it faster. Remember, it’s going to take practice to get it right.
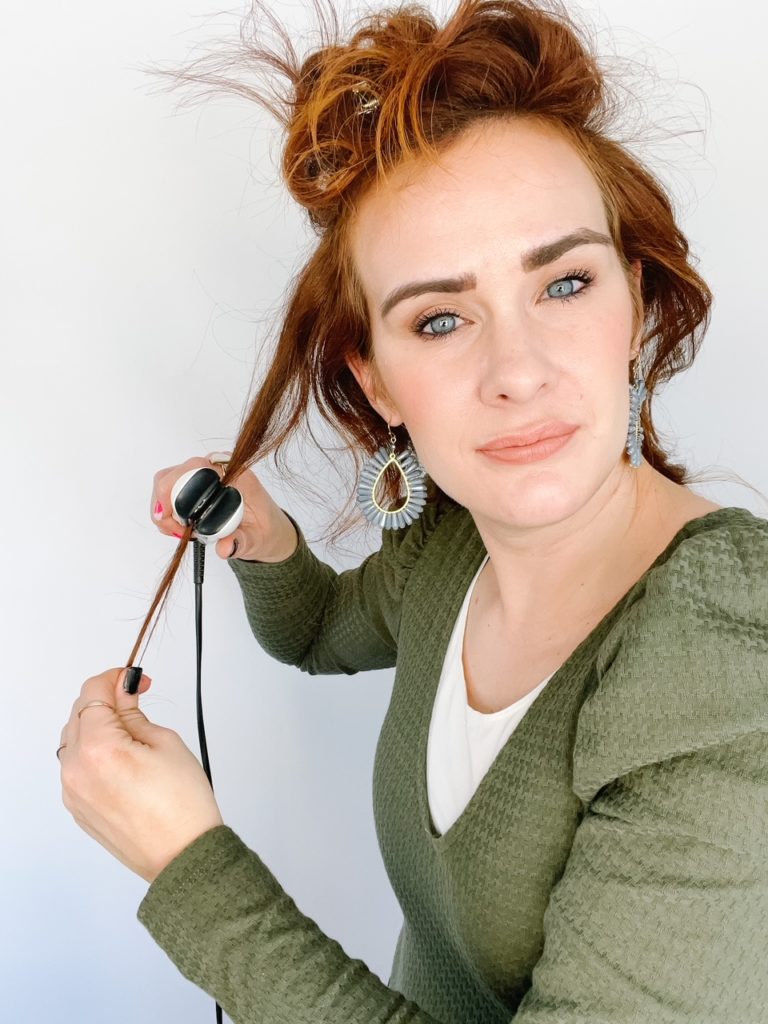
There may be a time or two where the ends are rounder or curlier than you want them to be. Don’t be afraid to use the iron to straighten the ends. You won’t cause more damage.

Once you’ve curled both sides of the hair, comb out the curls with either your fingers or brush. Use texture spray to help the curls stay separated and set it with hairspray.
The key thing I want you to remember here is to point the flat iron down toward the ground. Yes, it feels silly. Yes, you get an arm workout. But it’s worth it! If you need to see the difference, watch the video below!
Are you ready to give it a try?
How did you make a blog look this sick!? Email me if you get the chance and share your wisdom. Id be appreciative!
Thanks a lot for sharing this with all of us you really know what youre talking about! Bookmarked. Please also visit my website =). We could have a link exchange agreement between us!